Friday, 27 November 2015

Going Green

My wedding dress was made fast and did the job but was not the fairy princess frock I'd hoped for. So I decided to do something about it.


I started with the top and choose olive green dye.


After 1 hour of stirring, a quick wash and dry and my new top was done! I may wear it tonight...


Friday, 6 November 2015

Top to Frock

I've been having a clear out and two old H&M jersey tops were heading for the charity bag until I decided they would make good play dresses for the girl.

I started with a dress of Sophie's to - very roughly - check for sizes and measurements. I started with the pink top (as I liked it least!) and forgot to take any photos.

Cracking on the with second I knew what I was doing and whipped it up in about half an hour - slightly cheating by mainly using the over-locker. 


I started by chopping of the section under the arms to create the main skirt section of the dress. Then cut the sleeves off.


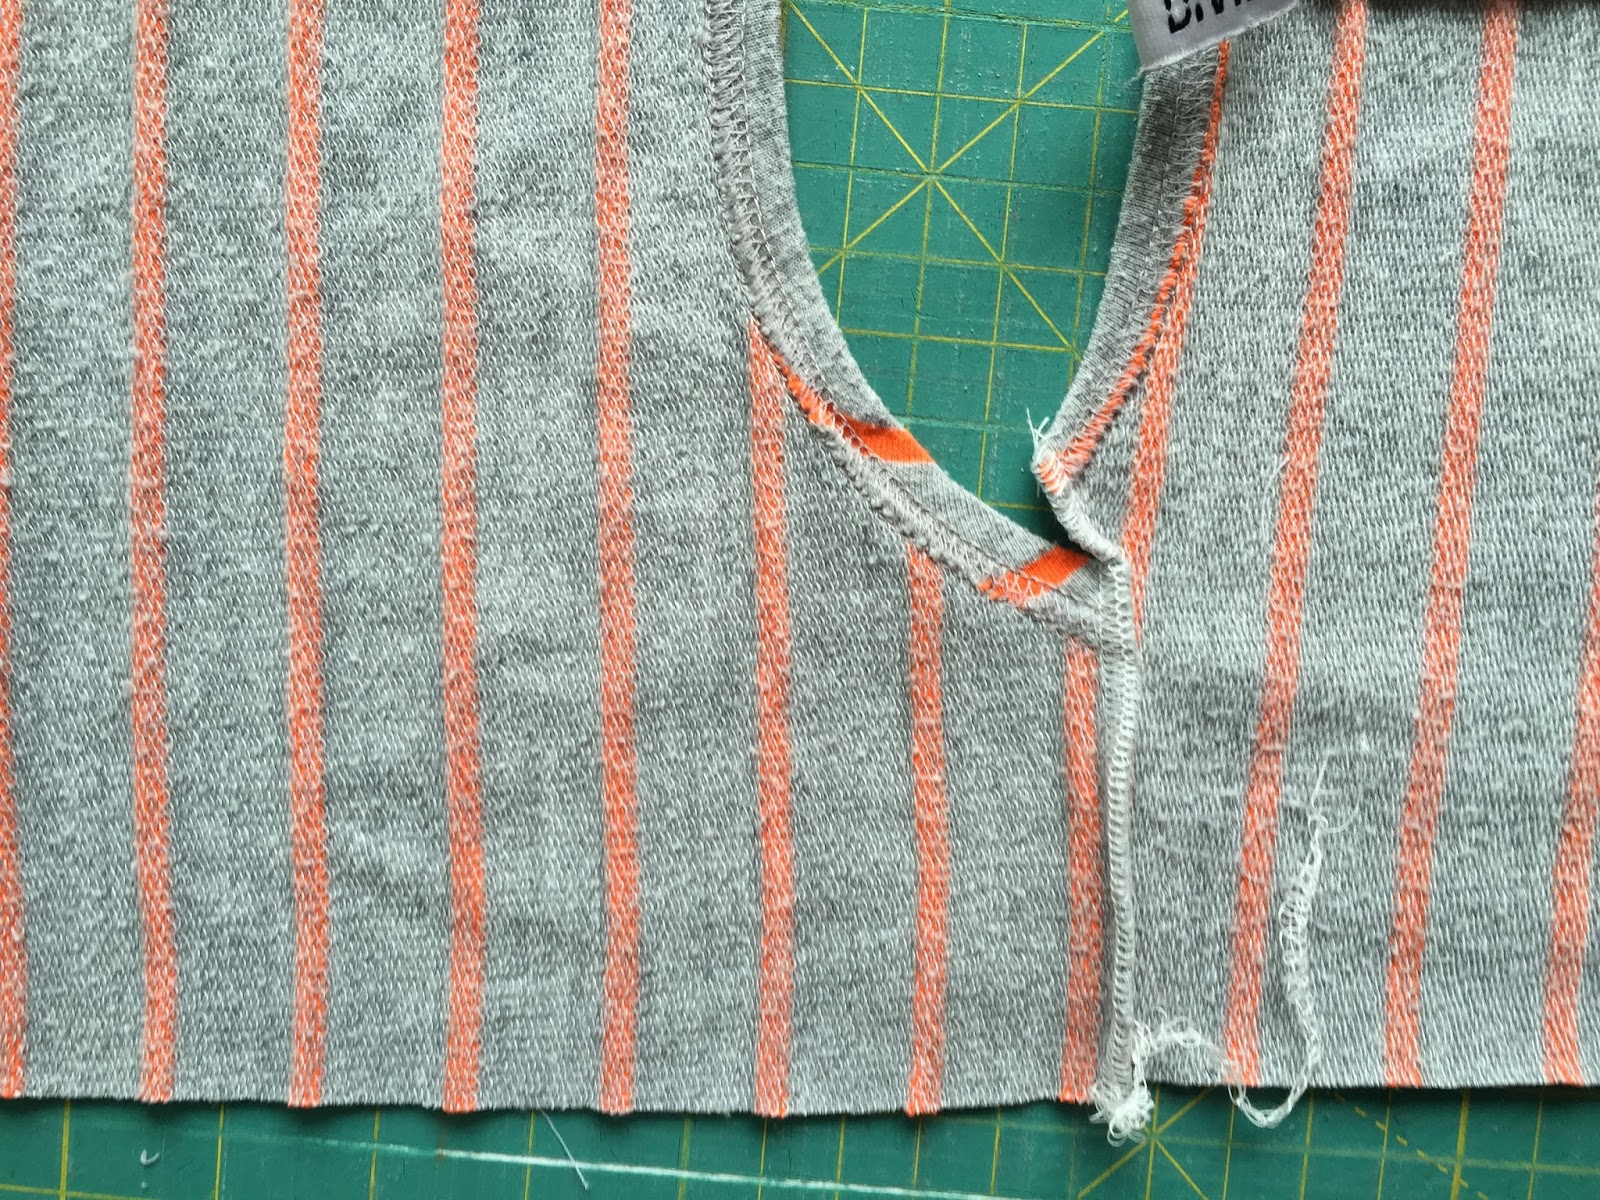
I then cut the bodice to a smaller width (approx 14") and sewed new shoulder seams.


I lay the sleeves together and cut off the about half inch from the original seam.


I then lay the two sleeves on top of each and using the dress I have for measurements I estimated a sleeve width. As my top had rolled sleeves I used scissors to cut through - it wasn't very neat but I knew I would be tidying it up later.


I found the centre of my sleeve and places this on the shoulder seam, pinned then over-locked into place. Repeat for other sleeve.


Then with right sides together I pinned the side seam and sleeve (opening out the rolled hem of the sleeve cuff). Then over-locked - carefully turning the corner under the arm. Repeat on other side. 


With the top section done I sewed two rows of long, basting stitches along the top of the skirt section leaving long tails to pull the gathers. 


Finally with right sides together I pinned the top to the gather skirt, gathering evenly as I went, matching side seams. I sewed on the sewing machine before over-locking to make neat.


With the sleeve cuffs and bottom, dipped hem still in place from the original top - that was it done! Pretty pleased at the refashion.

Monday, 2 November 2015

Christmas is coming...

I can tell as I've had a request for a bespoke advent calendar.


The commission was for something traditional with a Nordic feel - I think this combination of green, red and white does this. 


The lucky boy has his name embroidered along the bottom so there is no doubt who the goodies inside each pocket are for!


Saturday, 17 October 2015

Make It Today

... well I actually made it some time ago but...

The Make It Today magazine has featured my home made wedding dress. It was great to see it in print - second time now - although it may be the spur to do something with the dress... watch this space!


Friday, 2 October 2015

Captain Finn Sparrow


My boy is 6. To celebrate yet another dress up outfit. This time a proper pirate captain.


I found the out of print pattern on eBay and was going to just do the coat and shirt but ended up making the whole outfit - long lined vest, trousers and 'boots'!


The buttons and gold braid really finish off the great design of the cuffs and coat back split.


Just like the original Jack Sparrow - this pirate is mastering the looks to lull his victims into a false sense of security before taking all their bounty!


Monday, 21 September 2015

Paper Crane and Wild Flowers Quilt


It's been a while since I've made a quilt - so when Zoe from work announced her upcoming nuptials it was a great reason to make one. The origami and flowers reflect elements of the wedding day itself.


I wanted to do something different - I wanted the patchwork to be relatively simple but the hand-quilting to be the real feature.  I've been collecting pins of Sashiko Embroidery for a while and wanted to reflect this is a quilt. 


Sashiko is a form of Japanese folk embroidery 
using the basic running stitch t
o create a patterned background.


My take on Sashiko was sewing a running stitch around each flower head in the central section. I also zig-zagged in another section and on the black  / dotted fabric I embroidered a Origami Crane and random stars.


By keeping to a plain background - a single piece of lovely Kono cotton (stone) - and using light blue and teal coloured perle cotton the stitching clearer on the back.


The whole thing is finished with the date of the wedding - wishing them years of fun and happiness.