Saturday, 17 October 2015

Make It Today

... well I actually made it some time ago but...

The Make It Today magazine has featured my home made wedding dress. It was great to see it in print - second time now - although it may be the spur to do something with the dress... watch this space!


Friday, 2 October 2015

Captain Finn Sparrow


My boy is 6. To celebrate yet another dress up outfit. This time a proper pirate captain.


I found the out of print pattern on eBay and was going to just do the coat and shirt but ended up making the whole outfit - long lined vest, trousers and 'boots'!


The buttons and gold braid really finish off the great design of the cuffs and coat back split.


Just like the original Jack Sparrow - this pirate is mastering the looks to lull his victims into a false sense of security before taking all their bounty!


Monday, 21 September 2015

Paper Crane and Wild Flowers Quilt


It's been a while since I've made a quilt - so when Zoe from work announced her upcoming nuptials it was a great reason to make one. The origami and flowers reflect elements of the wedding day itself.


I wanted to do something different - I wanted the patchwork to be relatively simple but the hand-quilting to be the real feature.  I've been collecting pins of Sashiko Embroidery for a while and wanted to reflect this is a quilt. 


Sashiko is a form of Japanese folk embroidery 
using the basic running stitch t
o create a patterned background.


My take on Sashiko was sewing a running stitch around each flower head in the central section. I also zig-zagged in another section and on the black  / dotted fabric I embroidered a Origami Crane and random stars.


By keeping to a plain background - a single piece of lovely Kono cotton (stone) - and using light blue and teal coloured perle cotton the stitching clearer on the back.


The whole thing is finished with the date of the wedding - wishing them years of fun and happiness.

Saturday, 29 August 2015

Little Red Riding Hood

I've finally convinced Sophie to dress up in one of her birthday gifts - its only taken three months!


I made her Red Riding Hood cape using the Red Riding Hood pattern from Oliver + S 'Little Things To Sew' book.
I used a red poly-cotton and the lovely robin in hedgerow fabric (donated by Auntie!) which is perfect for the Red Riding Hood theme.


I like that its lined and I really like the  small slits for hands to poke through.


Her picnic basket completes the look!


I made it a little big so she'll have plenty of years of wear.


I just hope she doesn't get eaten by a wolf... I think she can handle any trouble though if her ninja moves are anything to go by.


Monday, 6 July 2015

Skirty Sophie

I expect most three year old girls are very single-minded about what they wear - trying to encourage them into something that's not on their favourite list can be a red rag to a bull. Sophie insists on wearing skirts or dresses ('princess') nine days out of ten - hence the need for a couple of new options in her wardrobe.

The first follows a tutorial I found on Pinterest - it's a Japanese design with lovely piping pockets.


In my version I've used a precious piece of Charlie Harper's 'Cardinal Stagger' canvas from Birch Fabrics. I used black with tiny white dots for the piping.


The second is a simple design of two long tubes sewn together with a channel for some elastic around the waist. The Liberty fabric moves so lovely when gathered together like this.


I use a simple strip cotton for the underskirt.
 

Needless to say Sophie is pleased with her new clothes, but dressing hasn't got any easier now there is more choice!

Sunday, 28 June 2015

Tutorials Tested: Simplicity 1158

More sewing for me this month. I've been thinking about my holiday and have decided short jumpsuits are what I need for the beach. There are lots of these playsuits in the shops but most are a little too skimpy for me!

After a rummage through the pattern books in my local shop I found the Simplicity 1158 pattern - perfect with it's cap sleeves and flattering cross body option. I also found the perfect remnant piece for just £4.


I made a quick trial version to test the sizes and from this I decided to make the shorts a little longer - at 5'8" I'm a taller than most.


I'm really pleased with the final version. The little details, like the gathering at the collar on the front and the tie back give the whole outfit a sense of complexity that you would expect from something more difficult to sew together.


The most fiddly bit was making sure I had the correct facing sections sewn together and added onto the right front pieces - this took a couple of goes, I shall be marking future versions more clearly


The inserted pockets and long sash belt are the perfect finishing touches.


Roll on beach-time!

Sunday, 7 June 2015

Tutorial Tested: Purl Bee's Boxy Tee

The patterns and tutorials on the Purl Bee site are fabulous! There is something for everyone, or if you're like me - you'll want to do all of them!


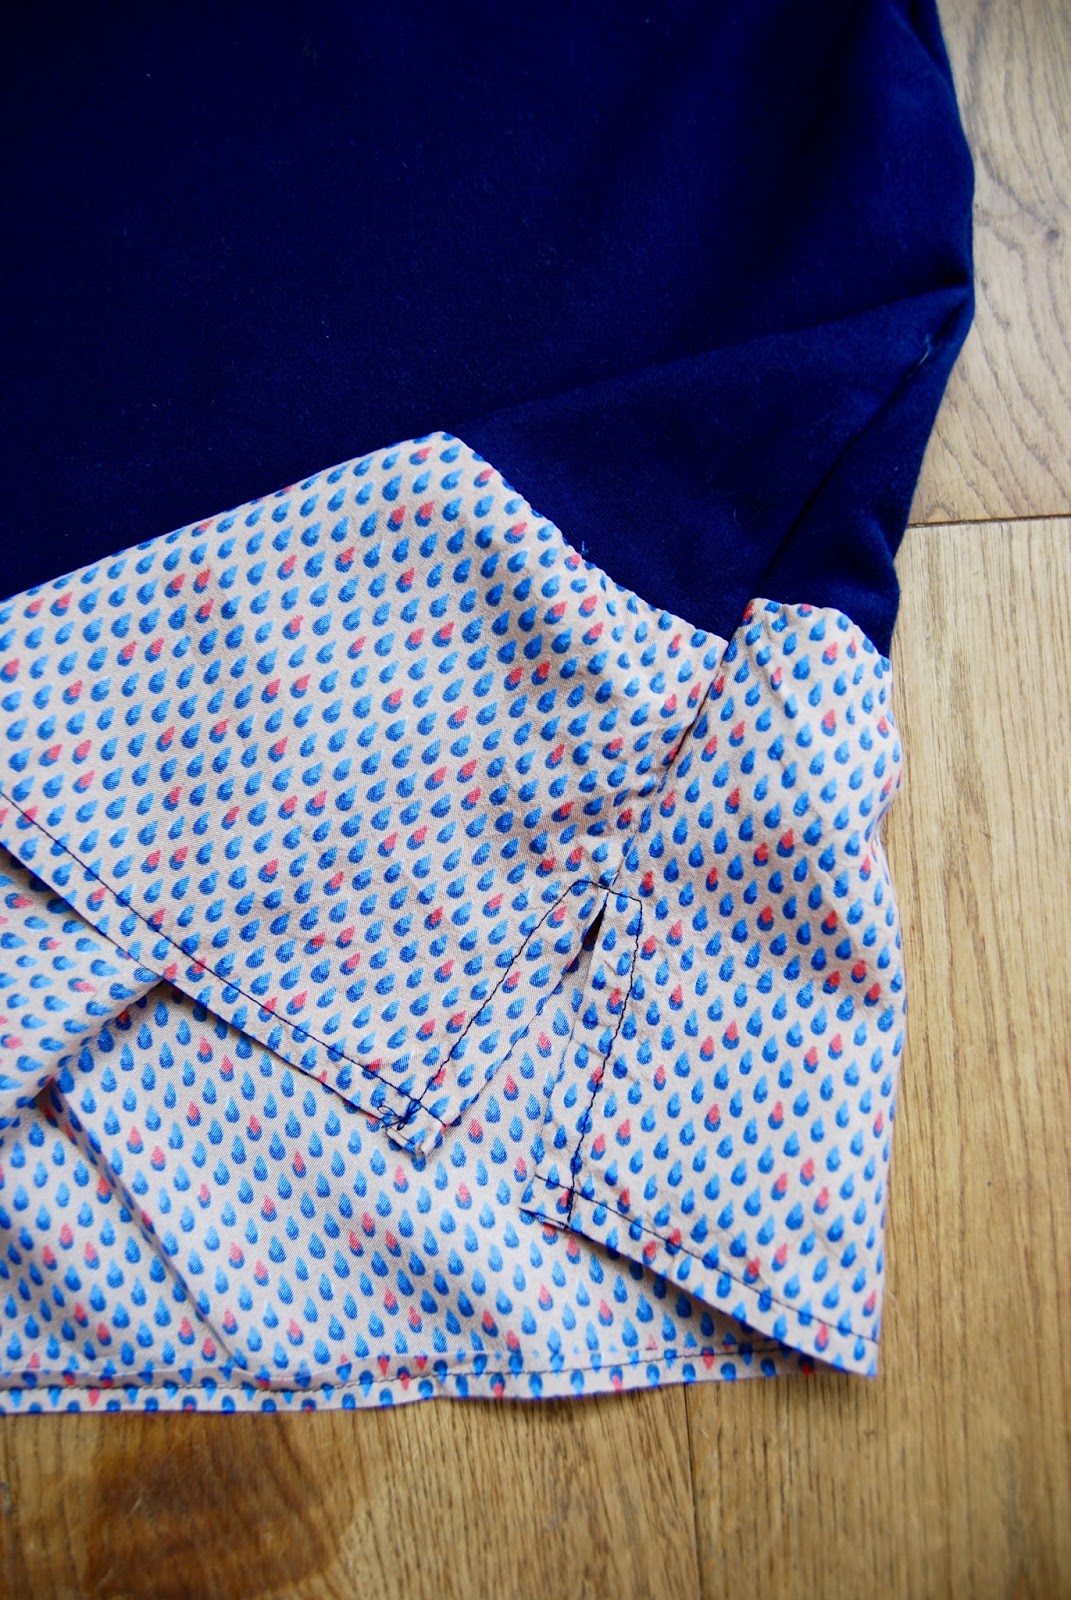
This is the latest of theirs I've tried - their 'Boxy Tee'. They have three different versions, I went for B - mid length arms with the contrast fabric along the bottom.


 I use a mid-weight navy jersey and a piece of silky fabric I had in my stash.


I made a couple of changes to the pattern:
  • I used the front neckline template on the back so that it was more scooped. 
  • I also made the sleeves a little wider after reading the comments but Purl Bee have since made this change to the pattern.
  • Finally I took further advice from the comments by adding the bias binding to the neckline before I sewed the sleeves in - this made the fabric more maneuverable.


The silky fabric was difficult to use - it frayed and so the finished hem was shorter than planned and the french seams at the armholes were a little bulky - next time I will only do this on finer fabric.

Overall it was really straightforward, the directions were easy to follow and the final top is great. I've had complements when I've worn it, so I shall be making more!